DISCLAIMER
-This tutorial is based in gcc12 installation, its the same for every installation just do the same steps but CHANGE THE 12 IN THE COMMANDS BELOW
The first step is installing homebrew
homebrew installation
Install homebrew here Paste the command in your terminal (it requires Xcode installation)
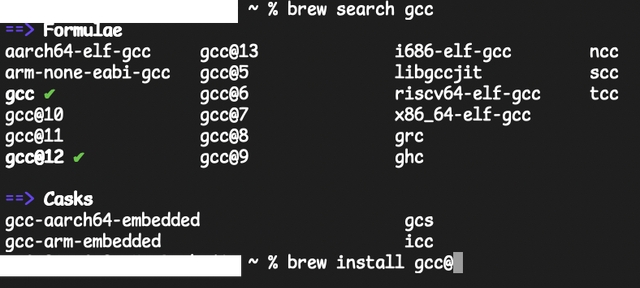
Then with the search command you can see which version of gcc you can install brew search gcc Choose your desired version and install it with: brew install gcc@version 
Add the version after the @
verify the installation
Mac m1 users
The following command will gill you the version of your gcc which you will use to check, if g++ is installed correctly
ls /opt/homebrew/Cellar/gcc@12
Then you rewrite the same command but adding the version that the command just gave you and adding the g++ line
ls /opt/homebrew/Cellar/gcc@12/12.4.0/bin/g++-12
Disclaimer: Replace 12 with the version you installed and the 12.4.0 with the version the command ls /opt/homebrew/Cellar/gcc@yourversion gave you
If that doesn't throw you any errors then brew prefix gcc@12
For intel chips
It's almost the same process but the location of the homebrew downloads is in
/usr/local
Adding to zshrc
Add the CC and CXX flags for it to be able to run, I will use vim but you can use nano or any text editor vim ~/.zshrc
Once you are in your zshrc paste the following commands export CC="$(brew --prefix gcc@12)/bin/gcc-12"
and
export CXX="$(brew --prefix gcc@12)/bin/g++-12"
If you did not install version 12 always change the 12 in every command to the version you installed
Running the files
In order for it to run
$CXX main.cpp
and it should look like this
This is the only way I found to do this and be able to run bits/stdc++.h or other headers without a problem


